Contents:
Intuitive Shipping uses Google Routes (formerly Distance) and Geocoding APIs to calculate distance-based shipping rates and apply distance conditions. To set up a Local delivery shipping method that calculates rates based on the distance between your shipping origin and the customer’s address, or to use a delivery distance condition in a Scenario to control when a shipping method activates, you’ll need to create a Google API account with both Routes and Geocoding APIs, then connect it to Intuitive Shipping.
 Learn more about creating local delivery shipping methods and using delivery conditions in Scenarios.
 A Google API account is required to set up a Local delivery shipping method or to use delivery distance conditions in a Scenario.
How It Works
All costs shown are in US dollars (USD).
Each time Intuitive Shipping checks a delivery distance condition or calculates a distance-based shipping rate for local delivery, it sends an API request to Google using your Routes API (formerly the Distance API). If no information is returned, a second request is sent using your Geocoding API.
That means Intuitive Shipping will make at least one and sometimes two API requests per distance check.
The Routes API works about 75% of the time on its own.
Both APIs cost $5.00 per 1000 requests per month. Google provides $200.00 in free usage credit each month, which covers at least 20,000 - but typically up to 30,000 to 40,000 - distance-based calculations before charges apply.
Here’s how it works:
-
$200.00 credit = 40,000 total API requests.
-
Around 75% (30,000) use only Routes API = $150.00.
-
Around 25% (10,000) use both Routes and Geocoding APIs = $50.00.
-
Worst case, 20,000 distance-based calculations result in 2 API calls each.
Once you exceed 40,000 API calls in a month, Google will charge $5.00 per 1000 additional calls.
If you typically have fewer than 30,000 distance-based rate calculations per month, you likely won’t incur any charges from Google for your API account.
Create A Google Billing Account
Google requires you to have a billing account linked to your API project, even if you don’t expect to be charged for usage over the provided $200.00 per month (see How It Works above for more information about usage).
If you have an existing billing account with Google, you'll need to link it to your Google API project.
To create a billing account with Google:
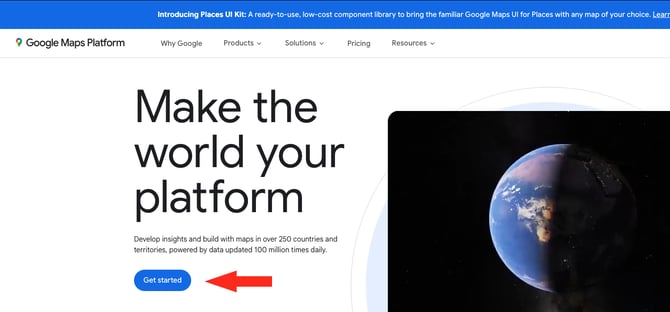
1. Go to the Google Maps Platform.
2. Click the Get started button.
3. Sign in using a Google account - the same account you use to access Gmail, Chrome, YouTube, etc. If you don't have a Google account, you'll need to create one.

If you're using a business account, ensure that you have Admin privileges before proceeding.
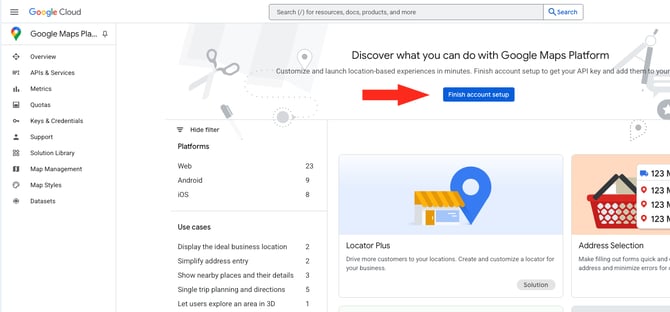
5. Complete the billing account setup process.

You will be required to
- Complete a Payments profile for your organization.
- Add a payment method.
Google requires billing information even if you don't anticipate being charged for API usage. Learn more about how billing works.
Create A Project
Once billing has been set up, Google may create a default API project called 'My Maps Project'. We recommend renaming this 'Intuitive Shipping' so it can be easily identified.
To rename your default maps project:
1. Click the vertical ellipsis (3 dots) near the far right of the main menu bar (beside your profile picture), then select Project settings from the drop-down list.

2. Rename your project 'Intuitive Shipping', then click Save.

Enable Routes and Geocoding APIs
Intuitive Shipping requires both Routes (formerly Distance) and Geocoding APIs to be enabled. Our system first tries to calculate distance using Directions, measuring your store’s address to the customer’s address. If that fails, we fall back to the Geocoding API, which uses geocoordinates to complete the calculation.
1. From the 'Overview' page, click APIs & Services on the sidebar menu.

If you're not on the Overview page, you can access the sidebar menu by clicking 'Google Cloud' at the far left of the main menu bar. Click APIs & Services under 'Pinned products', then click Enable APIs & services from the drop-down list.

2. Locate the Geocoding API on the page, then click 'Enable'.

3. Locate the Routes API on the page, then click 'Enable'.

Make Your API Key Unrestricted
By default, Google adds restrictions to your API key to help prevent unauthorized use. These restrictions can interfere with how your API key works with Intuitive Shipping. To avoid issues, you’ll need to remove the restrictions from your API key.
Please note: Google may caution against this. If your key is only used with Intuitive Shipping, the risk of unauthorized access is extremely low.
1. Open the Google Cloud sidebar menu (far left of the main menu bar). Click APIs & Services under 'Pinned products', then select Credentials from the drop-down list.

2. Under 'API Keys', click on your API key name.

3. Under 'Application restrictions', ensure None is selected.

4. Under 'API restrictions', select Don't restrict key.

5. Click the Save button to save your restriction settings changes.

Connect Your Google API Account To Intuitive Shipping
After enabling the Routes and Geocoding APIs, you must save your API key in Intuitive Shipping. This allows our system to access your API account. Delivery distance conditions and local delivery shipping methods will not work until your Google API is connected to Intuitive Shipping.
To access your Google API key:
1. Open the Google Cloud sidebar menu (far left of the main menu bar). Click APIs & Services under 'Pinned products', then select Credentials from the drop-down list.
2. Under 'API Keys', click Show Key. This will generate a pop-up box.

3. Click the copy icon to copy your confidential API key to your computer’s clipboard.


6. Click the downward arrow beside Integrated services, then select Google API from the list provided.

7. Click the Configure account button.

8. Enter a title, such as ‘Google API’ or ‘Google Distance’.

9. Paste your Google API Key from Step 3 into the API key field.

Save Your Settings
1. Click the Save button to save your Google API Account.
